Published:
How to Convert PNG to DST
How to Convert PNG to DST: Take a Walk with Us As We Simplify the Process of the Conventional File For Embroideries
Let’s say you operate a Tajima embroidery machine or anything of the sort, and someone approaches you with a request for embroidering a logo or a design. But instead of sending you a DST file, they send you a PNG file. Frustrating isn’t it? So as a business owner in promotional items or custom apparel or boutique sales, there is a need to know how to go about such situations.
In this guide, I will be addressing how to convert PNG to DST files and do it in the right way. Also, I will provide reasons as to why such work should not be done in-house, but rather by a professional such as Champion Digitizing.
Why Choose Champion Digitizing for PNG to DST Conversion?
You want someone to turn a PNG file into DST so that it can be used in embroidery. You possibly went online in an attempt to search for programs or videos that explain the process, but you found yourself in a lot of technical terms and complex steps. Getting the PNG file converted into a DST file does not come as easy as clicking a button. It is a procedure that has many steps and needs specific skills and machinery.
Allow us at Champion Digitizing the relief of doing this conversion itself. As to resolving issues on your behalf, here is why it is more favorable:
1. High Cost of Buying Embroidery Software and Learn New Software
When it comes to dollar amounts, high-end embroidery software like Wilcom Hatch or Pulse are among the top options. There are free embroidery programs like Ink/Stitch, but they do not offer the same capabilities for embroidery digitizing machinery complexities involved in the process to create end products or designs of high quality.
2. Adding Thickness to Embroidered Sections
All the elements of blocked embroidery should only be used once with the surrounding environment. The present environment appears strong. Forces of stronger level make a low level common sense in a cloth application edge tension retensioning probably not to be looked or cheated in.
3. Time is Money
Business owners mostly don’t have time to waste, their main goal is to increase sales, building and improving their brand according to the latest market trends to be in the competition.
Let Champion Digitizing handle this task for you so you can focus on your business and trust that you will always get quality results.
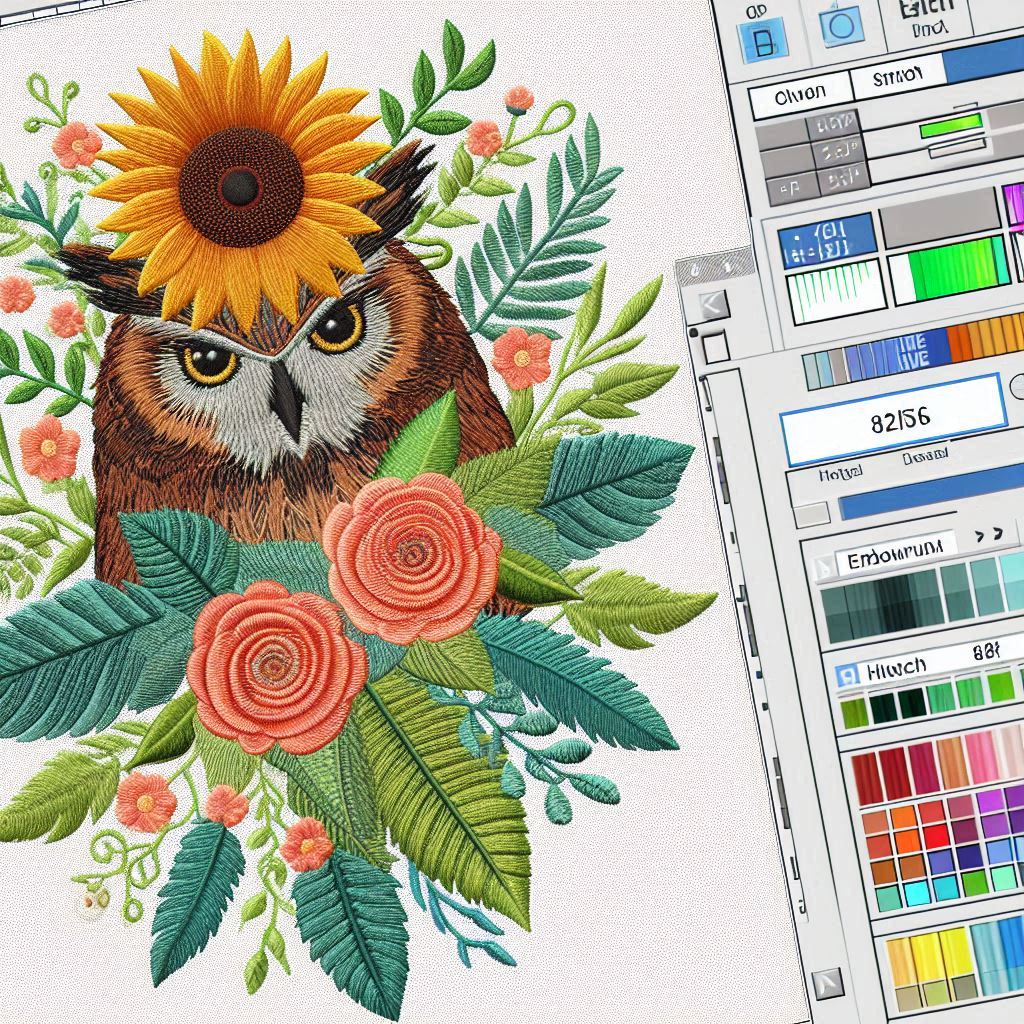
Steps to Convert PNG to DST
Given below is a systematic way to transform any PNG image into a DST embroidery file. Although it might appear lengthy and challenging, the following stages guarantee that the end design will fit well in embroidery.
Step 1: Initial Settings for Creating the Design in the Embroidery Machine Software
1. Start the Control Software: Start up your embroidery software (Wilcom Hatch, Truesizer, etc).
2. Select the Proper Hoop: Select the right hoop size for the design which is important as it will determine the effective working area of your embroidery machine.
3. Adjust Units and Settings: Make sure the required settings for the software are in accordance with the specifications of your project (in inches or in mms etc.).
Step 2: Download PNG File
1. Add the Client Logo: Either drag and drop the file into the workspace, or use the Insert Image button.
2. If it is needed: One can adjust the workspace size where the image will go. To keep the size balanced while resizing, hold down the Shift key.
Step 3: Image For Scanning And Digitizing Purposes
1. Image Pre-Processing: If there are additional background elements appearing on your PNG, they can be removed using any graphic editing tool such as GIMP, or Photoshop for example. Another compatible software which is also useful is CorelDRAW or Illustrator, in order to vectorise the image as well.
2. Image Reduction: If there are any complicated gradients or inner detail that seem unnecessary remove them and seperate it. The less disorganised the image is the quicker it gets to be digitized.
3. Repetitive motion: While you are working on the design, lock the PNG layer in order to prevent it from being moved around unintentionally.
Step 4: Hand Operated Techniques
1. Choose the digitizing tool: Choose the required tools from the toolbar’s options for digitizing outlines, fills and stitches.
2. Tracing Design: Select the Backtrack or Input C tool for drawing outlines which would be used for the satin stitches. A larger surface can be filled with the Tatami Fill tool.
3. Run stitches: Use run stitches to join paths (e.g., x to y) and remove jump stitches.
4. Adjust stitch angles: Set stitch directions based on shape and texture, especially for curves.
5.Assign stitch density: Adjust how tightly stitches are packed based on fabric type (denser for heavyweight fabric, lighter for delicate fabric).
6. Add underlay stitches: Add underlay (edge run, zigzag, center walk) to prevent wrinkles and stretching.
Steps 5: Assigning thread colors
1. Color Identification: Utilizing the thread palette which is part of copyright software, ensure the colors selected are as those in the design.
2. Color Sequence Optimization: Rearrange the sequence of the colors to determine which colors should be embroidered last to increase efficiency.
Step 6: Review and Adjust the Design
Check your work for any areas that need improvement. Use the program to preview how the design will look when it’s stitched on the fabric. Look for overlaps or gaps, especially around the lettering, remember that the portion of cloth beneath the letter will remain unstitched; this is because the cloth acts as the layer while the thread creates the pattern.
Next, it is possible to see the letters on the screen register drop in circles in 3D during the embroidery production stage. If you notice problems again, such as excessive overlaps or lack of gaps please make modifications before proceeding.
Step 7: Save and Export the DST File
1. Save Your Work: First, save the design in the most basic format available in the software (such as EMB).
2. Export to DST: Click on ‘Export machine file’ then click on DST. Go through the machine settings and confirm they meet DST standards.
3. Test Compatibility: Load the DST file onto a computer with embroidery machine software to confirm that it recognizes the file type.
Step 8: Test Stitch-Out Embroidery Design Drafter Summary
1. A test out of the design will be required: Pick a piece of fabric similar to the one you’re using in your final project and run a test stitch for promotion of the design.
2. Look and assess what has been achieved: Watch out for any problem which could be caused by slackness in the fabric, incorrect orientation of the fabric pieces, and uneven sewing.
3. Make appropriate changes: If the test stitch does not proceed as anticipated, go back to the embroidery file and make appropriate changes.
Reasons to choose Champion Digitizing?
At Champion Digitizing, we take pride in transforming PNG files into DST files accurately and seamlessly. Here is why it is in your business's best interest to hire us to do this:
1. Experience and Expertise
More than a decade's worth of embroidery digitizing experience, we have mastered the skill of transforming complex designs into stitch file. We can make your logo or artwork embroidery-ready regardless of how intricate it is.
2. Fast Turnaround
Most of our designs are completed within 24-48 hours so you don’t have to worry about deadlines.
3. Affordable Pricing
Pricing is straightforward, 1 dollar per 1000 stitches for most designs which is very cost effective and ensures you won’t pay too much for simple designs and are guaranteed high end quality.
4. We do the hard work for you
We clean complex files and stitch path and the rest of the hard errands are up to you. Which also includes testing of every design so that every design turns out beautifully on the machine.
5. No Surprises
We do not just go ahead and send you the DST file and then sit back and relax. We send every design to the machine and test it so you don’t need to worry.
Conclusion: Why Outsource to Champion Digitizing?
Converting PNG’s to DST’s is not an easy undertaking because it involves specialized software, skills in digital art, and extreme care. It also seems like an obvious option to do it yourself, however, it is much more wise to have Champion Digitizing do this for you in the end. It will save you time, energy and a lot of money in the long run.
Champion digitizing handles all these challenges and also ensures that your designs are made by professionals or experts, go through strict quality checks and are completed within the deadline given. Simply focus on your specialty, Generic Embroidery.
Are you set to begin? You can leave all the hassle of getting your design work embroidering to the experts at Champion Digitizing as they are sure to take your design work to the next level.